It is simple to exchange your MicroSurvey AutoMap with Leica Infinity and Captivate.
To Create an Automap from a Leica Codelist:
When importing a DBX file from Leica Captivate, be sure to:
- Select an existing or create a new AutoMap from the "Advanced" options in the DBX import dialog
- Ensure "Process Codelist" is selected
- Import. The Codelist used in the field will be appended to your current AutoMap.
- Ensure that there aren't any "rule breaker" characters in your AutoMap field codes, such as:
- x,y,z or . prefixes
- hyphen characters (these are reserved to be used with the -s, -r and -b modifiers which are added as needed to a core code)
- Spaces
- Save the Automap
- NOTE: you only need to do this once, or if you have created new codes that you want to add to an existing AutoMap
To Create a Leica Codelist from your AutoMap:
- Vist the AutoMap to Infinity Codelist Converter online utility and create a text file with extension *.CSV from your AutoMap
- Open up a new project in Infinity with default settings.
- Name the project with the name you would like to give this new codelist
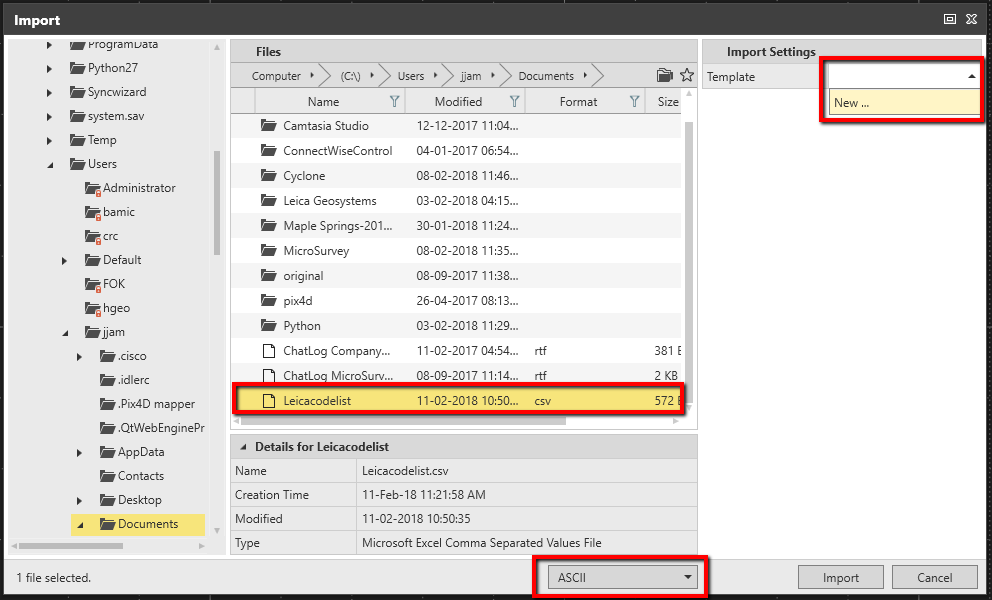
- From the "Home" ribbon, select Import
- Make sure ASCII is selected as the import file type
- Navigate to the text file you created in step 1. (NOTE: even though the AutoMap has extension *.csv" you can't use it for this step!)
- Under "Template" in the top right, select "New"
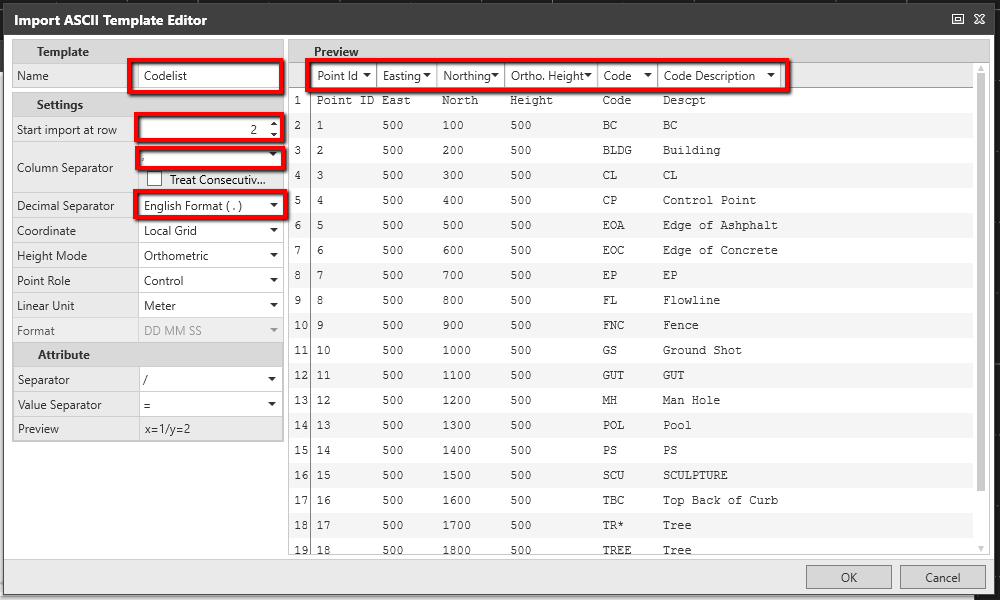
- Configure your template
- Give it a name
- "Start Import at Row" 2
- Select Comma as the column separator
- Configure the column optins to match your header as shown below
- Press "OK"
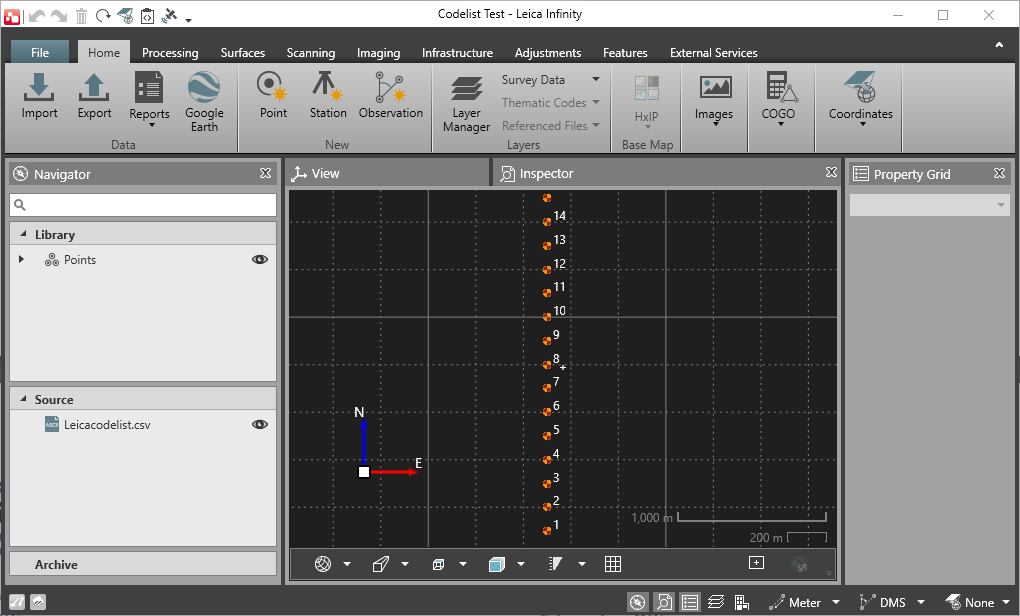
- Import
- Under the "Features" Ribbon Select "Code Manager"
- Under Code Table tab that appears when you open the Project Code Manager, highlight "Field Codes," and select the "Default"Code Group Name that appears in the first column.
- Press CTRL X on your keyboard
- Highlight "Code Table" and press CTRL V
- Verify by expanding Code Table to ensure “Default” code group name is available. Further expanding will show all the codes.
- Highlight "Code Table" again, and select the "Copy to Global" button.
- Close the Project Code Manager, and navigate to the "File" ribbon, Tools, Code Tables to verify the newly created Code Table. Select the editing tool (pencil icon) to crosscheck all the codes that are available.
- Using the "Export" button, the codelist now can be exported a SmartWorx/Captivate job, various HeXML, Flexline jobs, and other Infinity jobs.
James Johnston
Comments