MicroSurvey CAD has a "Global Mapper" tool with the ability to import georeferenced images which can be displayed in the background of your CAD drawing. Georeferenced images are linked to GPS measurements, so that if your FieldGenius measurements or Pointcloud is also referenced to GPS the CAD drawing, Ortho image and Pointcloud will all align with each other.
Examples of Georeferenced image sources can include:
- State or Provincial GIS databases
- GIS Programs
- Images generated from UAVs or aerial photography
In the example below, we can see a georeferenced image that was generated using Pix4D photogrammetry software using UAV data. You can see:
- A .prj file which contains information about units and coordinate systems
- A tfw file which tells the software where to place the image in the CAD drawing
- A .tif file which is the image.
All three of these files are needed and should be stored in your project folder. Depending on the source of your information these files may have different extensions.

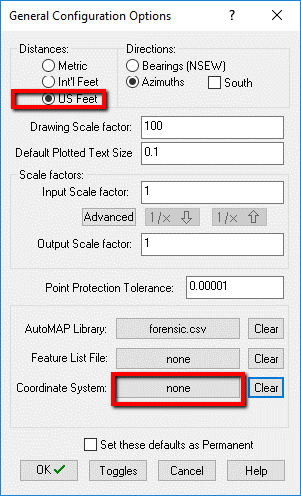
Create a drawing, and review the General Configuration Options dialog to ensure you have the correct options set for your coordinate system and units. You may need to check with the agency that created your orthomosaic file to ensure you have the correct settings:

Select the correct units in the “Distances” group:
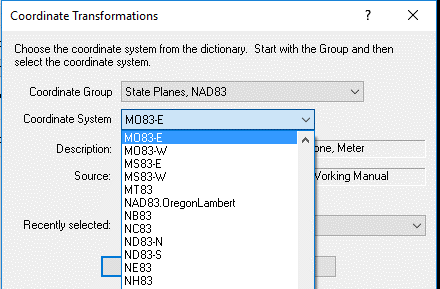
After you pick the “Coordinate Systems” button you can select from the dialog below:
- American agencies will usually find “State Plane” systems within the “State Planes, NAD83” Coordinate group
- Canadian or European Agencies will usually find their system in the “UTM Zones, NAD83” or “UTM Zones, North” group
Select OK and OK and your settings will be stored with your project.
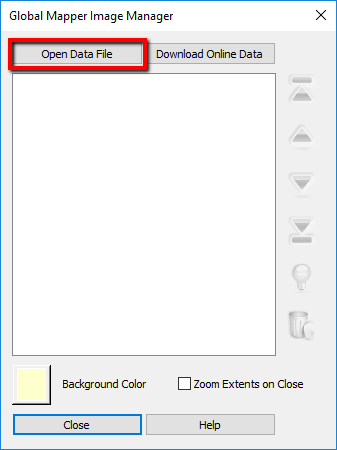
Next, we’ll open Global Mapper from the “Import/Export” Ribbon:
Pick “Open Data File”
(Always use this option in Global Mapper when you are accessing an image that you already have stored on your computer. “Download Online Data” is used when you have a subscription to a Web Mapping service, such as the Hexagon Imagery Program.)
Browse to the folder that contains all your Orthoreferenced files.
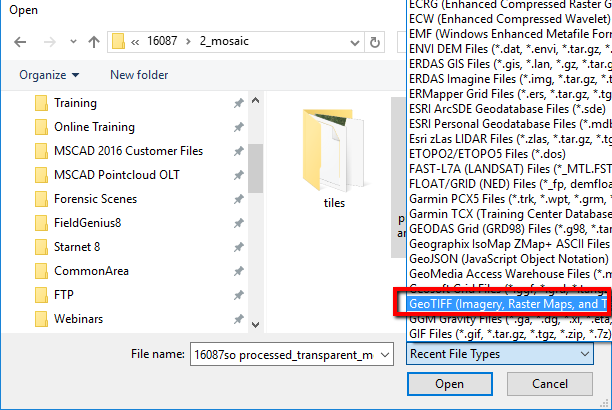
Before selecting your files, pick on “Recent File Types” and select the file type that you are importing. It is important that you select the correct type or you may find your image is incorrectly placed.
In this example we will select GeoTIFF.
It is also common that orthoreferenced images are offered in jpg2000 format.
There are many more choices, consult with the provider of the image for guidance.
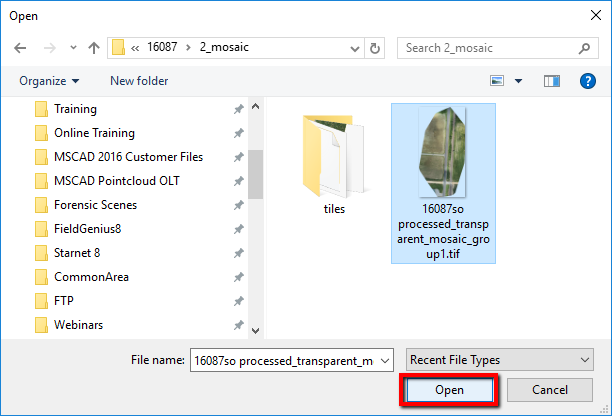
Once you have selected the file type, select the .tiff image and pick “Open”
Finally, select Close:
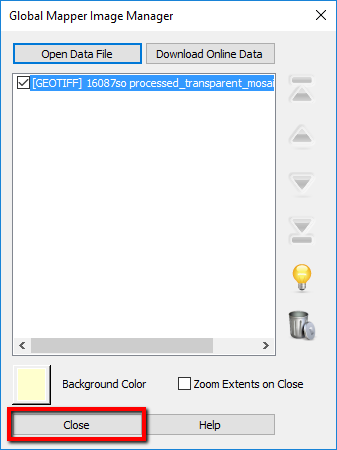
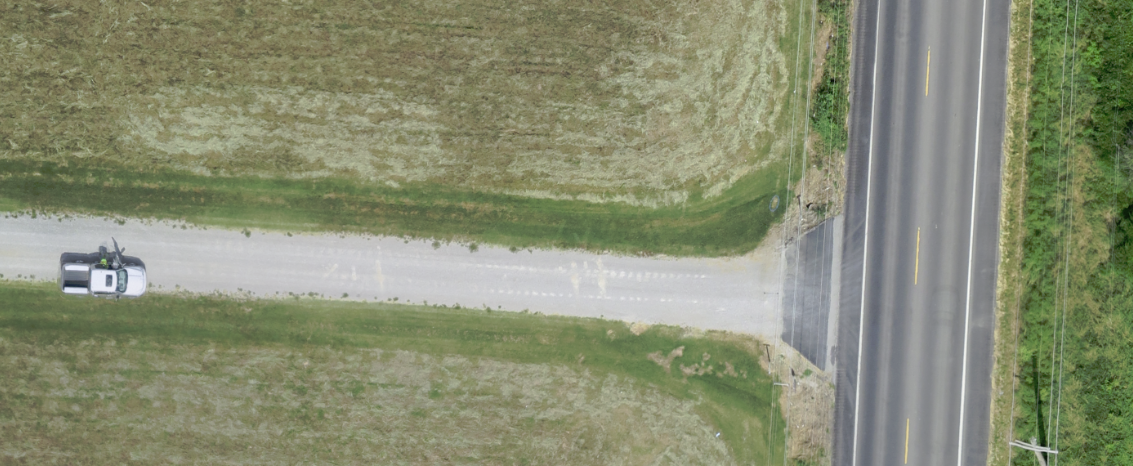
The image will be imported.
Jose Ramirez
Comments