With our CAD programs, if you are receiving drawings from other users, you may see your drawing look like this:
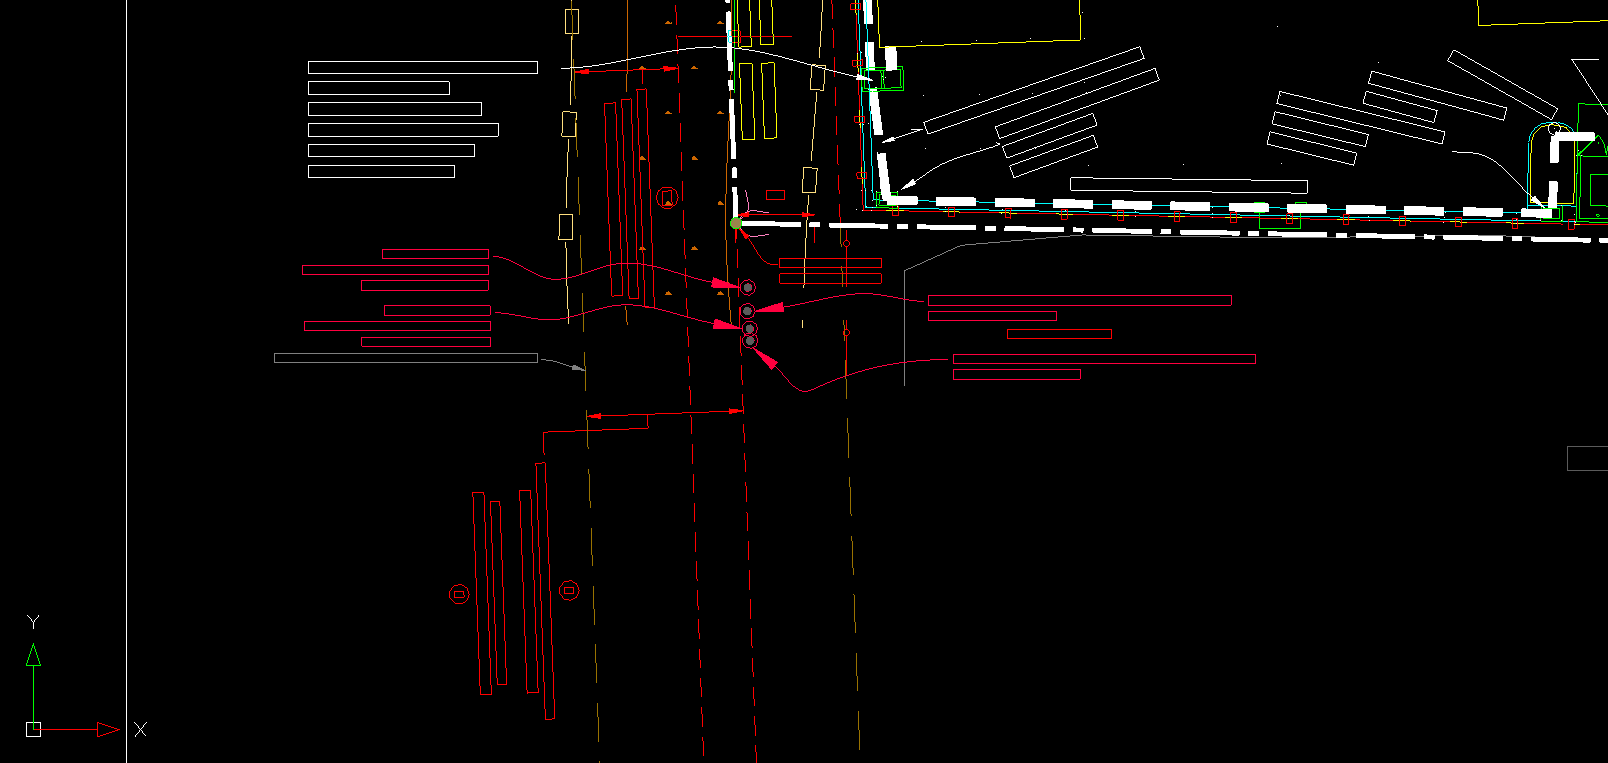
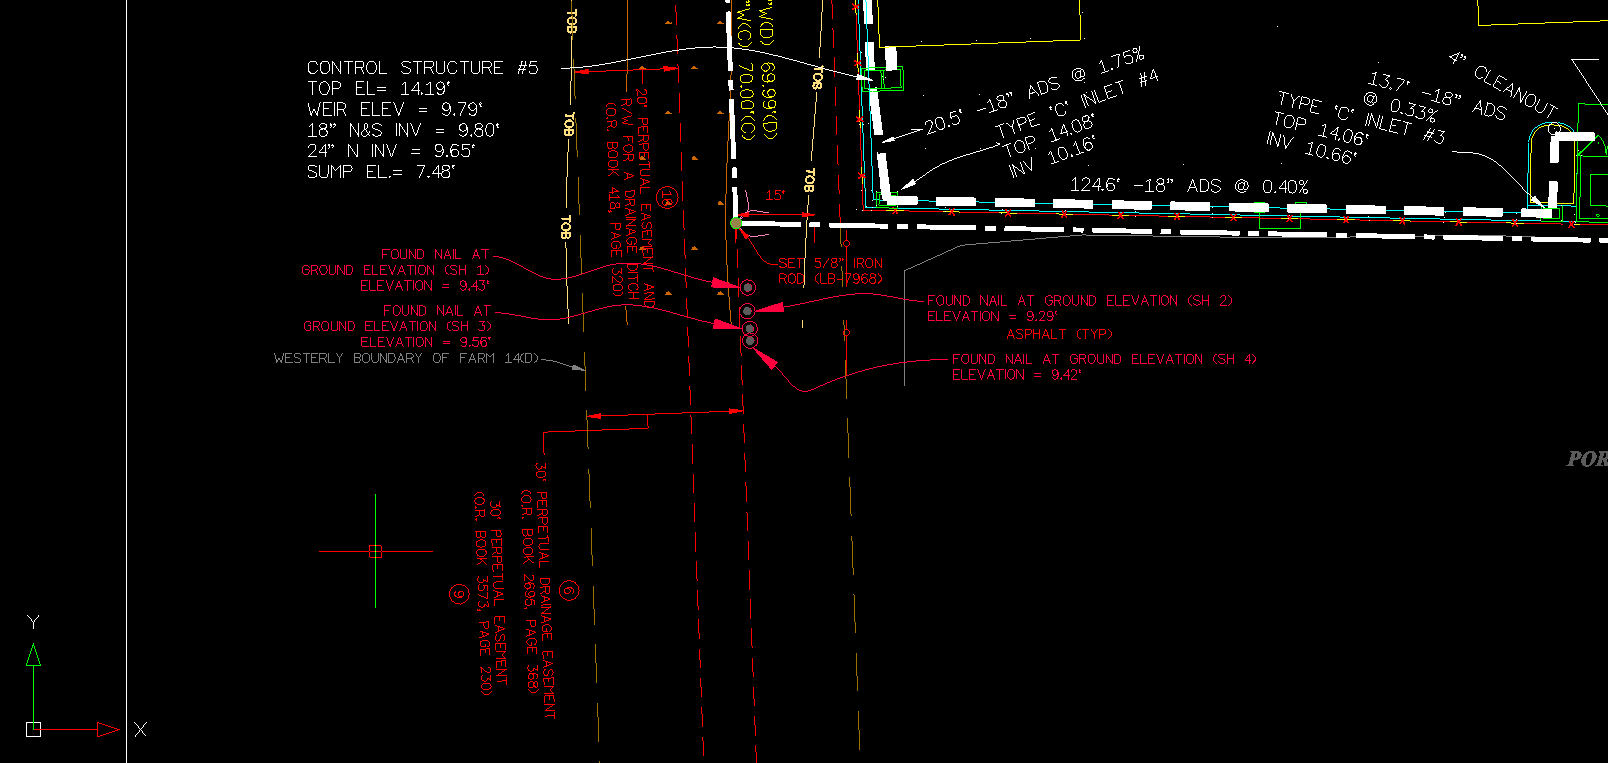
This is because of a command call QTEXT. When Quick Text is ON, text is displayed as placeholder boxes, rather than characters or words. This command is used to speed processing when working with drawings that contain a lot of text. To display your text as normal, simple set QTEXT to OFF, then run the REGEN command for the change to take effect.
James Johnston
Comments