In MicroSurvey CAD 2016 you can create a surface from a Pointcloud by using the "Points on Grid" function on the Pointcloud ribbon.
This function allows you to search for the highest or lowest cloud point within a given radius of the vertex of a predefined grid.
This function requires that:
- You are in plan view
- You have turned on grid display
- You have defined grid spacing that will allow you to accurately sample elevations
- You have set a search radius which will limit your search inside the grid
- Recomended: You have set a special layer just for the points we are about to generate
The sizing and search radius that you set will vary depending on the density of your cloud data and the amount of overgrowth that you need to filter out from your bare earth surface.
Here is an example showing "Points on Grid" from a lidar file covering roughly 1 kilometer or half a mile:
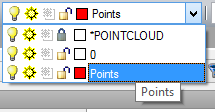
Once your pointcloud has been loaded into the drawing, create a new layer and set it to current:
NOTE: if you see the warning: "Grid display is not turned on. Cannot continue." it is a reminder that you need to follow the steps below:
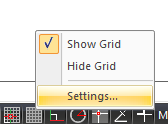
Right click on the Grid button in the status bar and select "Settings:"
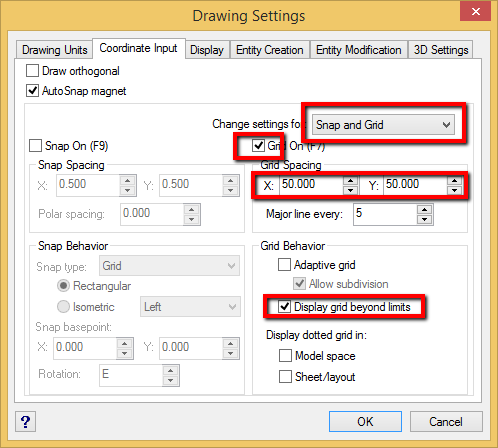
Configure the settings as shown. Important settings are highlighted in red. In this example we'll be sampling the lowest point in a 50 foot grid pattern:
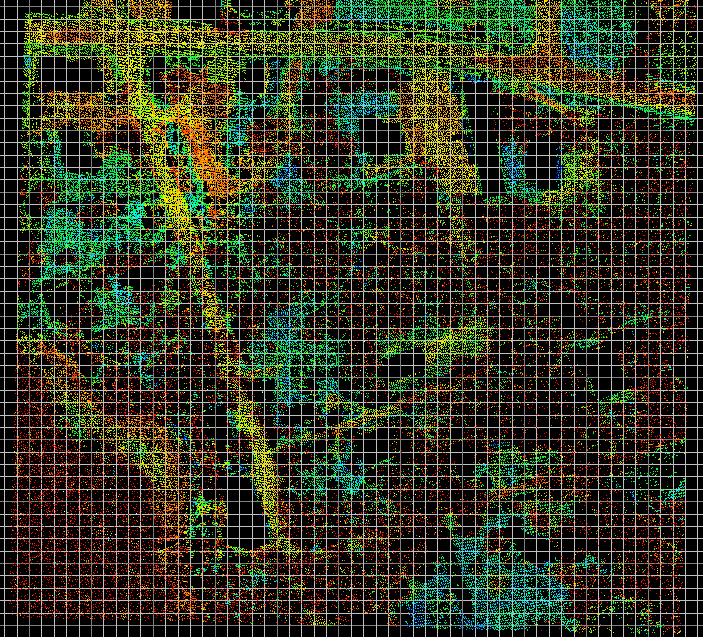
Once the grid is on you can see it. If you don't see it you may need to adjust your grid spacing and color scheme settings:
Next, switch to your Pointcloud ribbon and start the "Points on Grid" command:
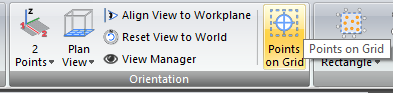
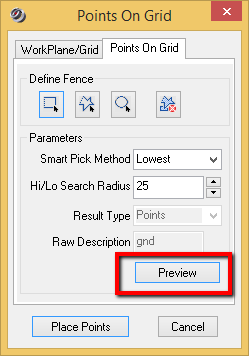
You can select "Lowest" for a bare earth survey, but the "highest" option is useful in some circumstances.
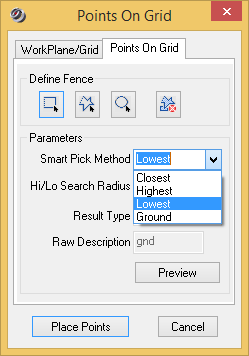
Define a Rectangle, Polygon or Circle to contain your survey:

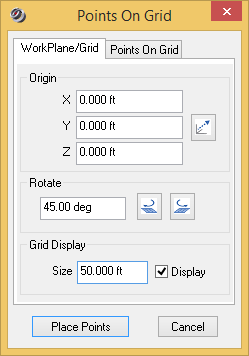
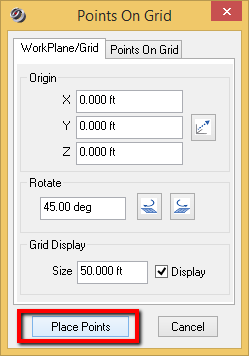
The Workplane/Grid dialog has captured your 50 foot grid spacing, but it can be modified:
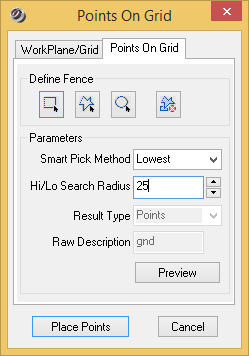
Set the Search radius to a reasonable value. Consider half the grid spacing as a good starting point, but conditions may require something different:
"Preview" will show you the grid points that are sampled in blue but won't create them yet:

"Place Points" will create point nodes in your drawing:

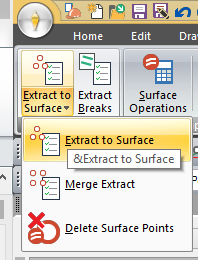
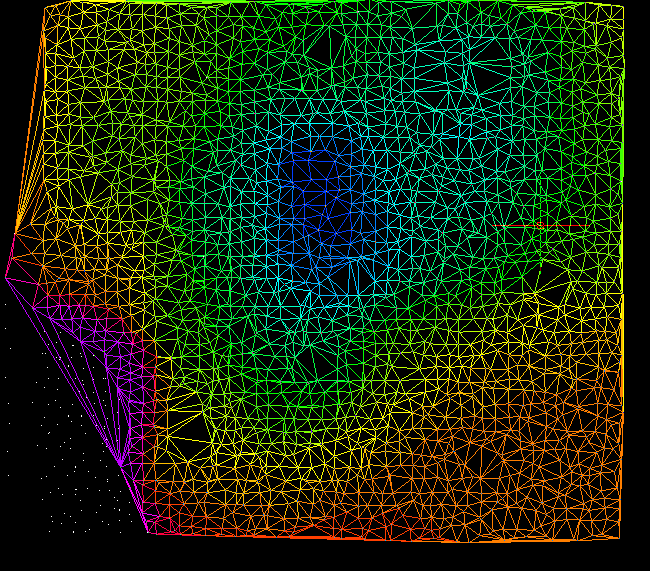
To create a surface, change to the "Model" Ribbon and select "Extract to Surface" and window in your points:
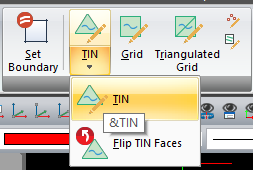
Select "TIN" to display the surface:
The Result:
See all the Pointcloud training Movies at this page
James Johnston
Comments