FieldGenius allows the user to log rover raw data for later post processing. The log files are stored on a memory card in the receiver, and the file type will vary depending on the make and model of the receiver. By default FieldGenius is not configured to log raw data for the rover, however in cases where post processing is required; the following steps outline the general procedure to configure the creation of the raw file.
Collecting Data using this configuration allows for users to collect data in RTK, but if the link is lost work can continue and post processing can be used to correct for points collected when the solution was poor.
GeoMax Geooffice works well, but data must NOT be in rinex format
Leica Infinity
Configure Settings and Start Logging
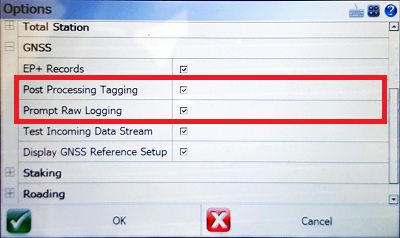
- Before connecting to the receiver, open Main Menu - Settings - Options, and scroll down to the GNSS category:
- Post Processing Tagging - Enable this setting to tag the raw data with the Point ID's of your recorded points.
- Prompt Raw Logging - Enable this setting to prompt the raw data logging when connecting to the rover. The user can manually start raw data logging at any time, this prompt will start the process immediately after connecting.
- Connect to the receiver, the prompt to initialize raw data logging should now appear:
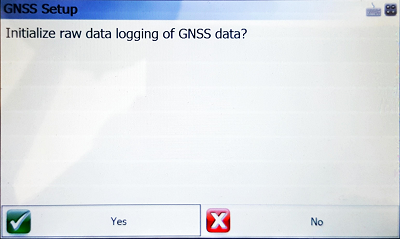
- Choose Yes, then enter a File Name for the log and select the logging rate:
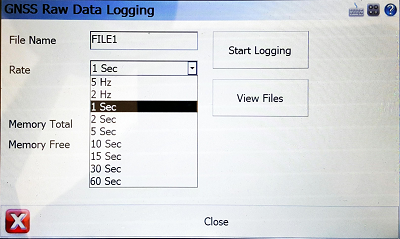
- Pick Start Logging to begin logging, the button will change to Stop Logging to indicate the receiver is logging positions:
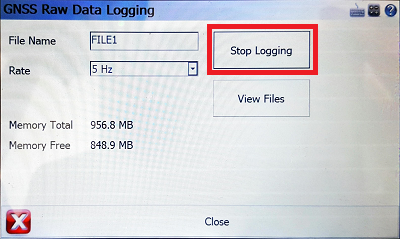
- Pick Close to close the GNSS Raw Data Logging screen.
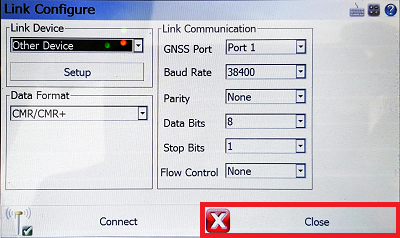
- Next, you will be prompted to configure your correction link. If there are no corrections available, simply pick Close to continue:
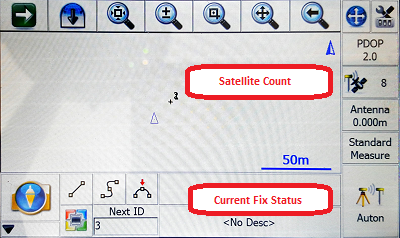
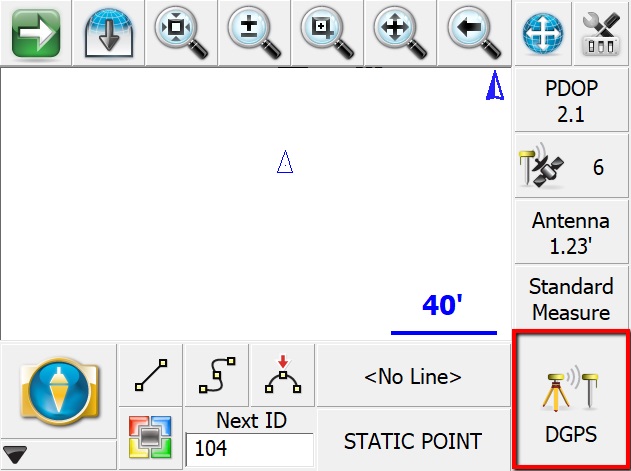
- The map screen will indicate how many satellites are available and the status of your position based on your tolerance settings:
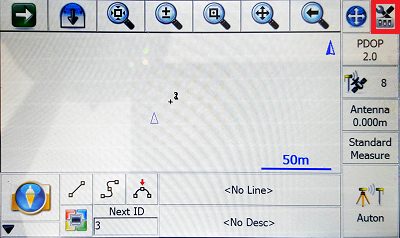
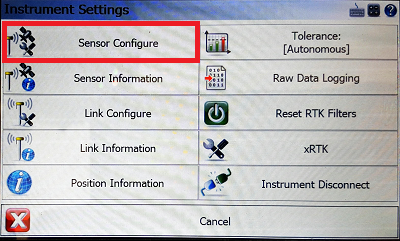
- Pick the Instrument Settings icon to set your active tolerance and the tolerance settings:
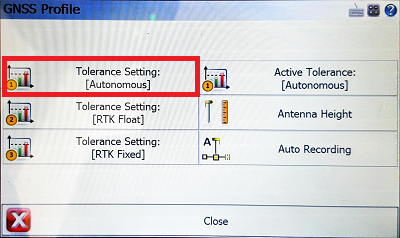
- Note the active tolerance:
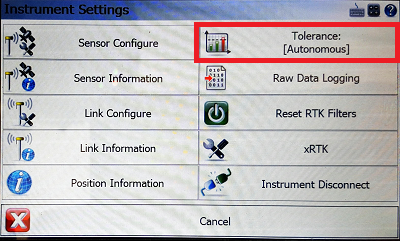
If necessary change the active tolerance setting to Autonomous - Pick on Sensor Configure:
- Pick on the applicable Tolerance Setting to modify:
- Enable the Post Process option and set time limits as desired:
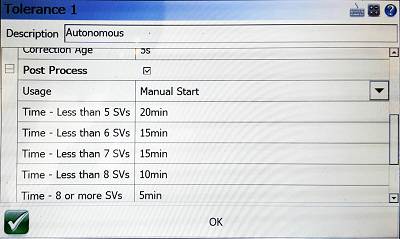
- All settings are configured
Measuring
- Initiate a measurement from any measurement mode
- With the Post Processing option set to manually start, a Start button will now be available in the GNSS Measurement screen:
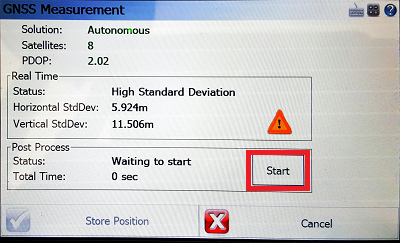
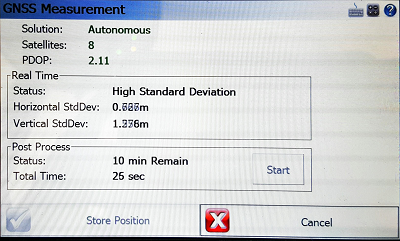
- The screen shows the measurement status, note the Store Position button is not available while the measurement is in progress:
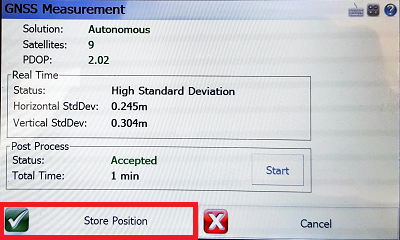
- The button becomes available when the tolerance settings are met:
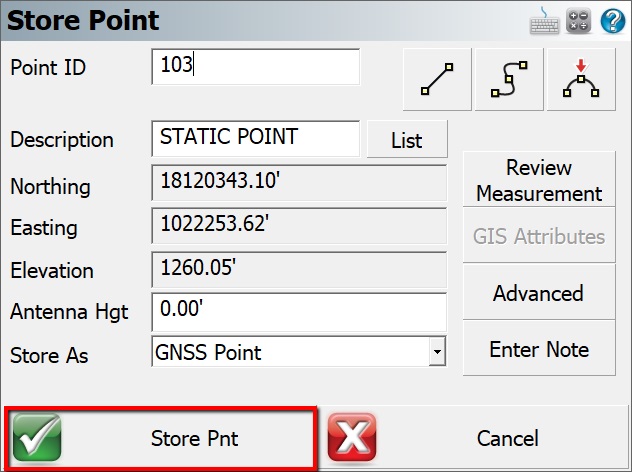
- The Point ID you assign when you store the measurement will be used to tag the static data in the post processing software.
Stop Logging
- From the Instrument Settings pick the Raw Data Logging option to Stop Logging:
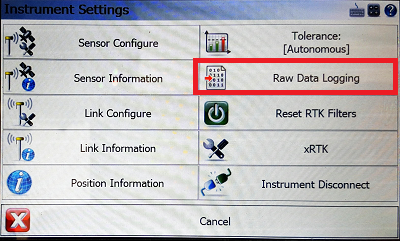
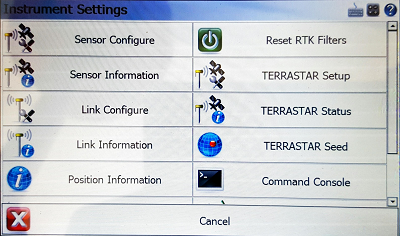
NOTE: The Instrument Settings options will differ depending on the make and model of your receiver that you are connected to. Another example:
Jacob Wall
Comments