Best Practises for working with Pix4D, FieldGenius and MicroSurvey CAD to incorporate Photogrammetry derived data into a Diagram.
Important Note: Pix4D, MicroSurvey CAD and FieldGenius can collect data which can be merged into a single MSCAD project. The user must select appropriate settings with regards to Units (Feet, US Feet, or Meters) and the Mapping Coordinate system. This guide will step you through the process.
• Your UAV may require you to select a coordinate system to be used for Geotagging. This coordinate system can differ from the Export and Project Coordinate Systems.
• The coordinate system and units must be the same during the following three stages of the process:
- Collecting Ground Control Points and any additional points and linework when using FieldGenius and a GPS Receiver (IF you are exercising this additional option)
- Setting the Export Coordinate System in Pix4D
- Setting the Project Coordinate System in MSCAD
• Refer to your local surveying authority or use this map to determine which coordinate systems are valid for your geographical region. Once you have selected a system you will probably continue to use the same one as long as you are working in the same region.
Setting the Output Coordinate System in Pix4D
Importing a New Coordinate System in Pix4D
Setting Ground Control Points in Pix4D
Assigning units and a coordinate system
In the Field
1. Perform fieldwork to collect imagery and, if required, ground control points on visible ground targets. A UAV and Terrestrial Cameras can be used to create imagery. FieldGenius and an RTK GPS system can be used to collect Ground control points that match painted targets that were included in the photographs. Evidence Recorder can also be used to measure points and linework for other details that you need to include in your map but are concerned will not be visible from the photographs.
In Pix4D
2. Create a new Pix4D project:

3. Add Images to your project:

Note the Image Coordinate System shown above, this is the system by which geotags are interpreted. These may be WGS84, UTM or ITRF. It is dependent on your drone or camera settings. This coordinate system may differ from your Ground Control File coordinate and unit Settings or your Output coordinate and unit Settings without adversely affecting your results.
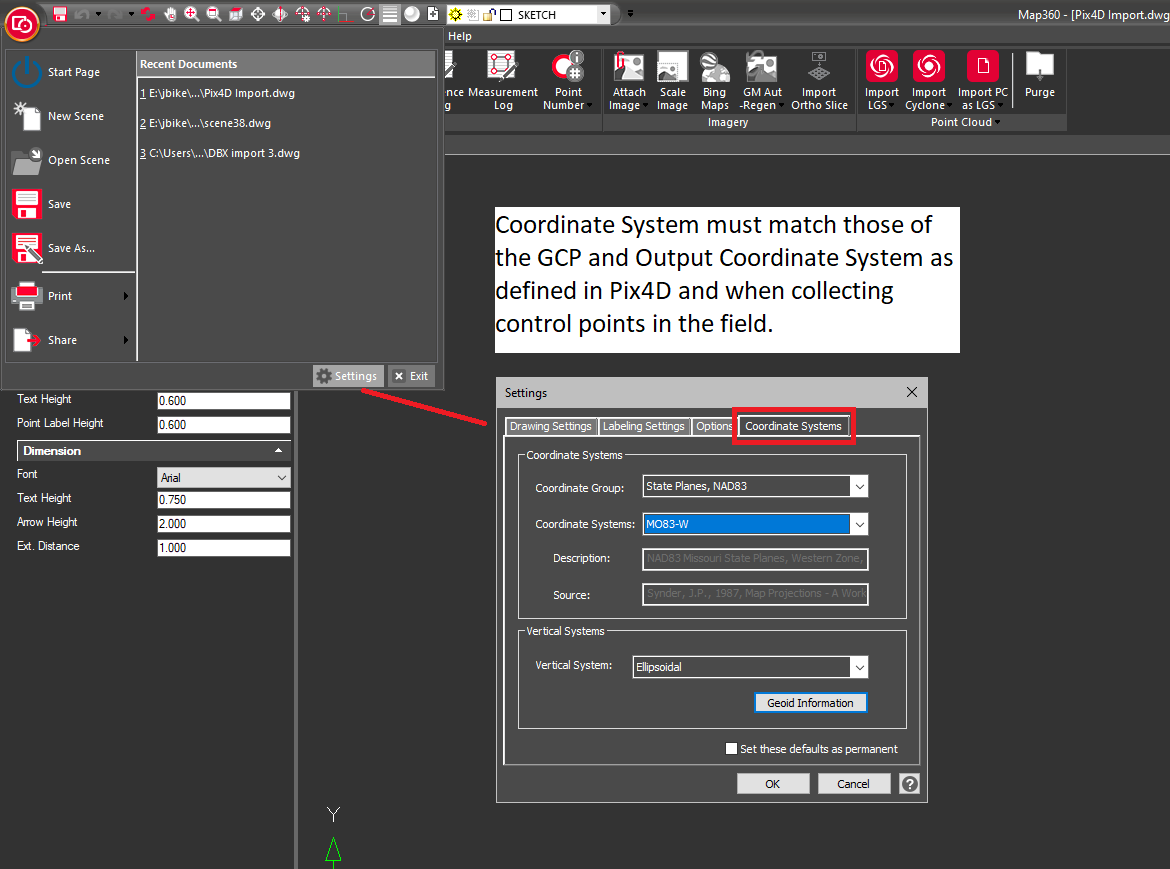
5. Next, set your Output Coordinate System from the Project Menu:
6. The output coordinate system, plus the units setting, must match those set (or about to be set) in MSCAD. Select Feet or Meters FIRST, then you will be presented with a list of available systems in the “Known Coordinate System” field. In this example we are selecting the Missouri West system in feet:
Importing a Coordinate SystemIf you don’t see your required coordinate system:Select “From EPSG” and and find your coordinate system on the Spatial Reference website. Download a prj file and consult your Pix4D documentation 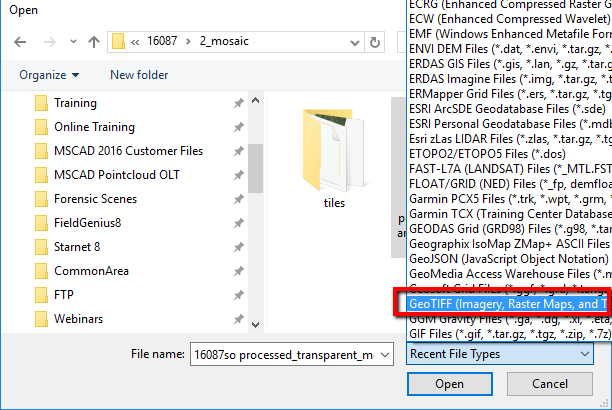 See this article for guidance importing a coordinate system. |
7. Pick Finish
Back to Top
8. If you need to incorporate a GCP file you must select units and a system that matches the one used by FieldGenius AND the Output System that you have already defined:
9. Use the dialog below to ensure that you have assigned the same Coordinate system and units for both GCP and Output Coordinate System:
|
See this video for a guide to importing a GCP See this video for a guide on exporting a GCP from FieldGenius |
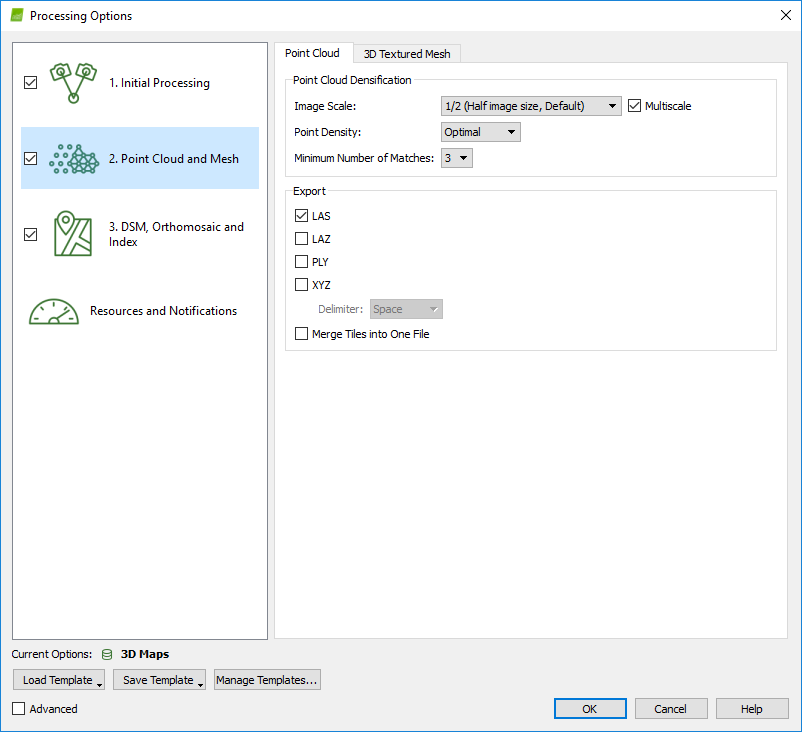
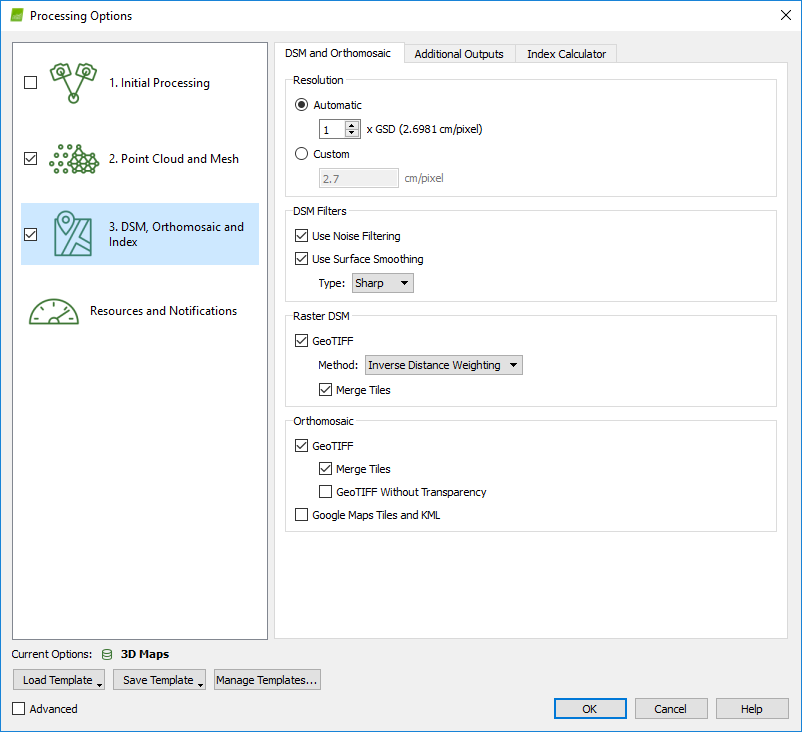
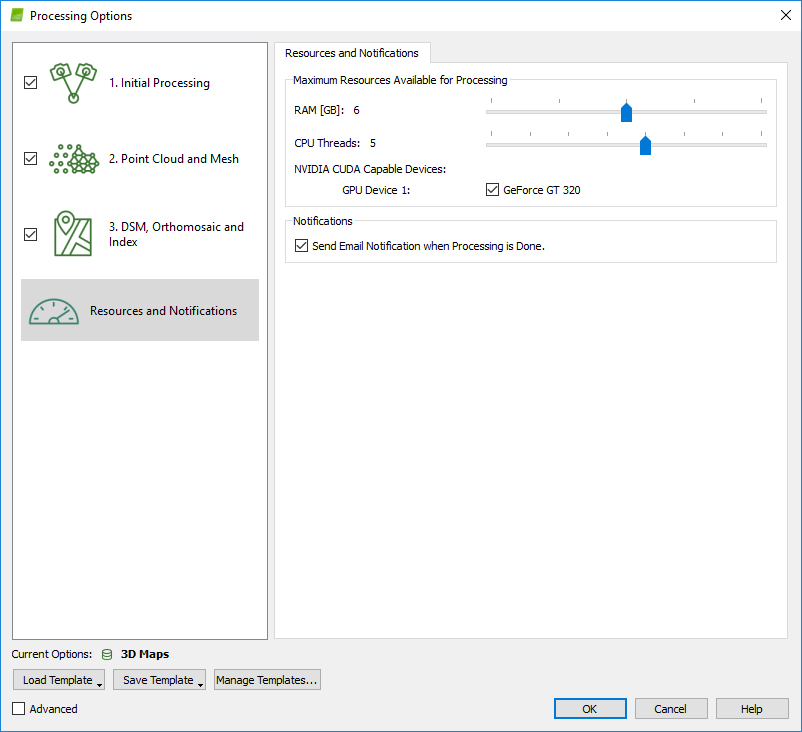
10. See below for some recommended configurations for Processing options:
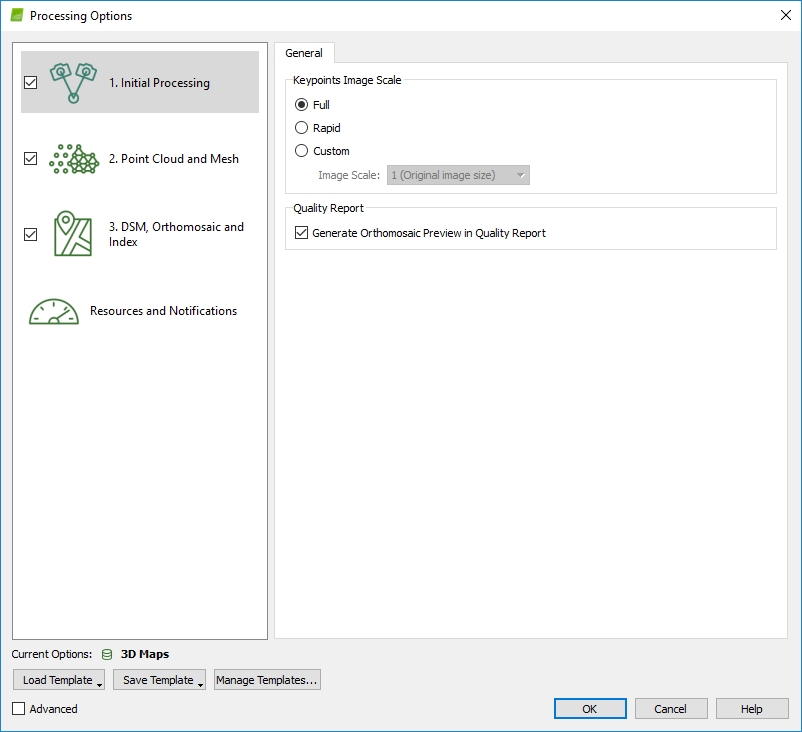
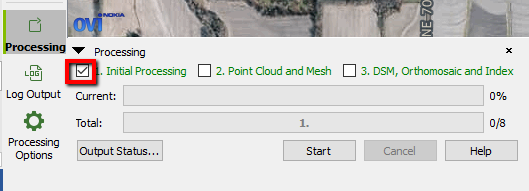
11. Now we can start Processing.

12. Turn off options 2 and 3 for the first stage and then "Start"
14. This will take a while. When complete, examine the Processing Report. If the results look good, check on Options 2 and 3 and pick “Start” to complete the creation of a pointcloud and orthomosaic.
15. The Result:
16. Importing the pointcloud, or LAS file into your MSCAD project:
In MicroSurvey CAD

17. Open or create the drawing which you intend to import the Pointcloud data into.
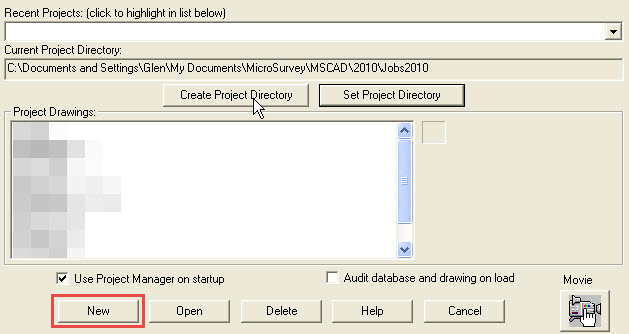
18. Set the Project Defaults:
20. Start "Import Cyclone" command from the Import/Export or PointCloud ribbons.
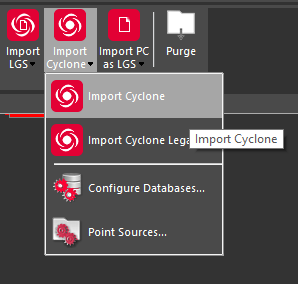
21. This will make a connection to the EpcA engine and connect MicroSurvey CAD to Cyclone.
You’ll see a progress bar for several seconds while it establishes this connection. When the Import ModelSpace dialog appears you may cancel the import command, but it's not mandatory: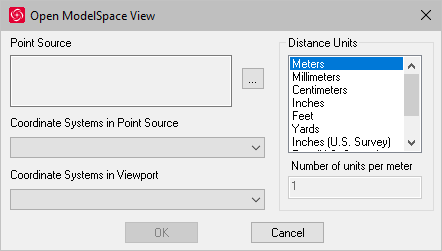 You must now leave MSCAD running in the background. |
In Cyclone
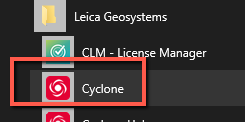
23. Run Cyclone. (A free "Viewer" installation is fine, license not required.)
If you see this prompt when you launch Cyclone simply pick "No" to enable free viewer mode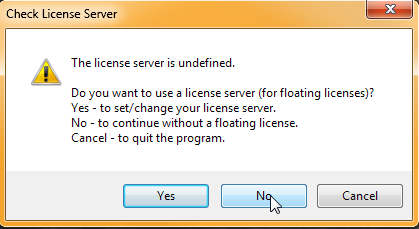 |
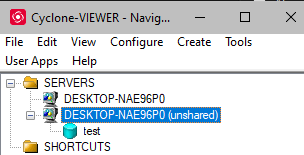
24. Expand “SERVERS” in the tree
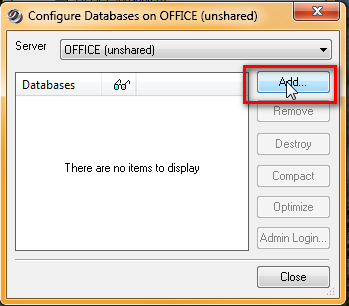
25. Right-click on the “YOURCOMPUTERNAME (unshared)” database:
26. Click the “Add” button
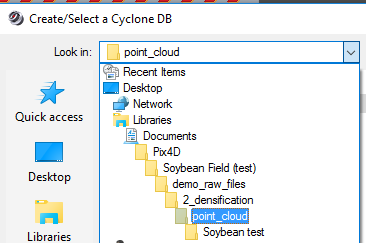
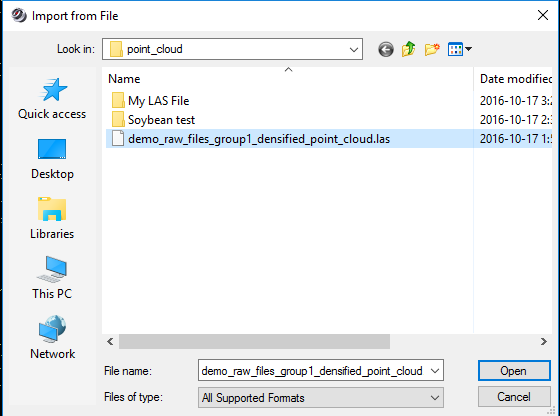
27. …and browse to the location Pix4D has created your LAS file.
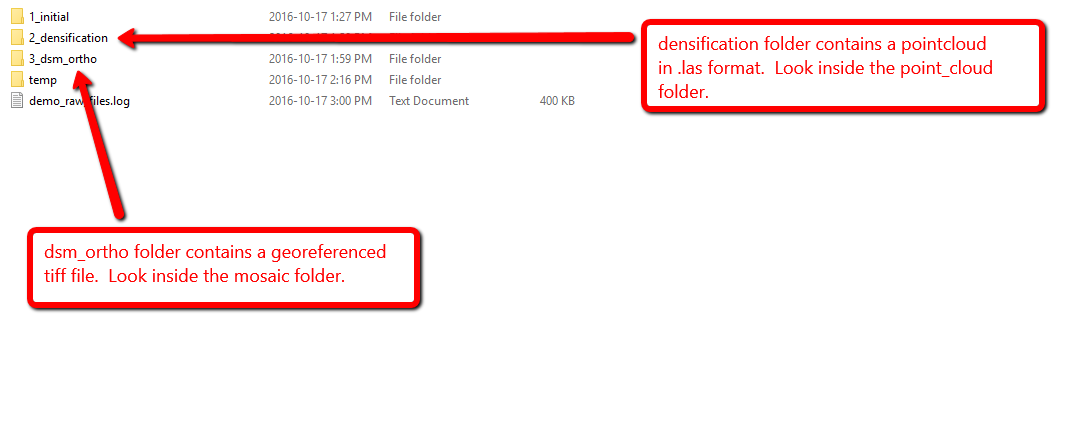
Look in: (Pix4D project location)\raw_files\2_densification\point_cloud
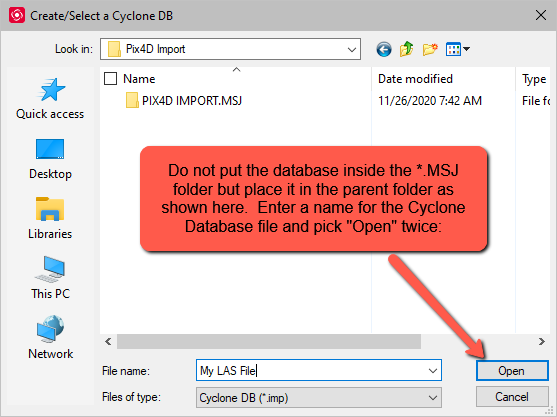
29. Enter a name for your Cyclone Database (IMP) file and Pick "Open" twice:
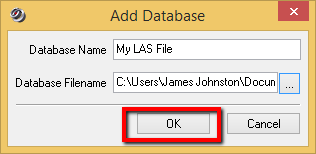
30. Select "OK"
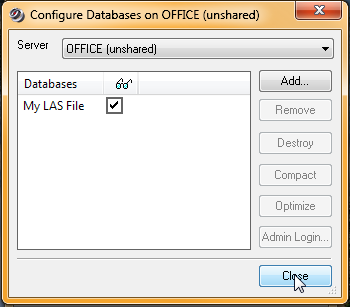
31. The new database is added to the list, make sure it’s checked and click Close.
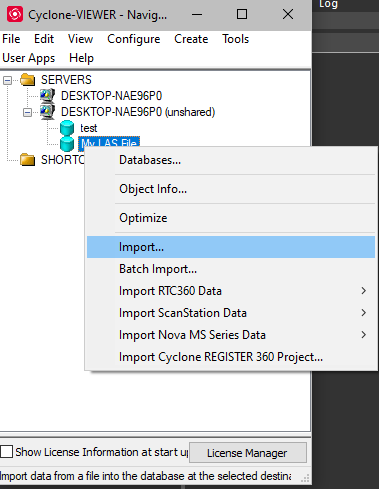
32. In the Cyclone Navigator, right-click on your new database and select “Import”
33. Browse to your .las file and open it.
Note: When using Cyclone, there is a chance that when importing pix4D .las files that the system will reach about 75% and then give an error. Follow this article to fix such a problem:
Error:NonGriddeanImporter, Pix4D .las file fails to impordSct
It may take some time to import, depending on how big the scan is.
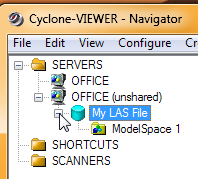
34. Expand your database, and you’ll see a new “ModelSpace”.
35. Close Cyclone

In MicroSurvey CAD
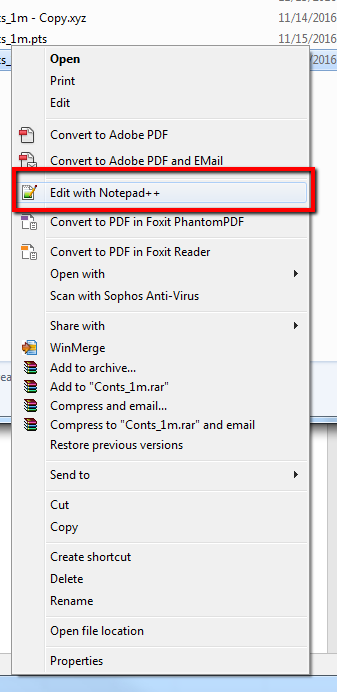
36. Return to your drawing in MicroSurvey CAD. Use the “Open Cyclone” command on the Import/Export tab (Sketch mode) or on the PointCloud tab (Advanced mode) or type CWIMPORT at the commandline.
37. ALWAYS set the units to Meters, and pick on "..." to start the import.
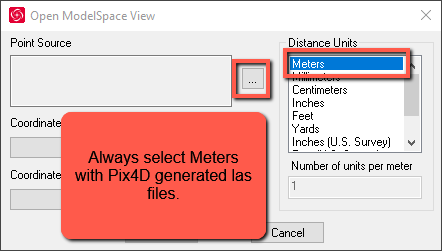
38. Expand the Database tree as shown to find your database. Right click and "Create View"

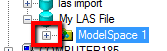
39. Then click the "+" to expand the tree:
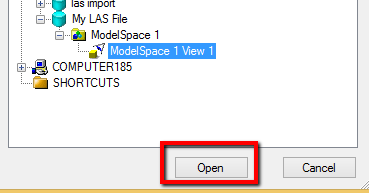
40. Highlight "ModelSpace View" and select "Open."
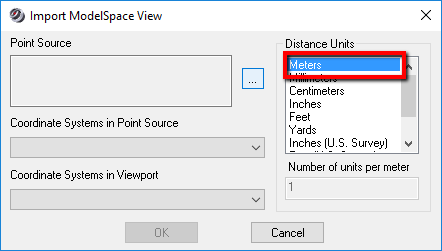
41. ENSURE THAT UNITS ARE SET TO Meters.
Pick on "OK"
42. Select Open
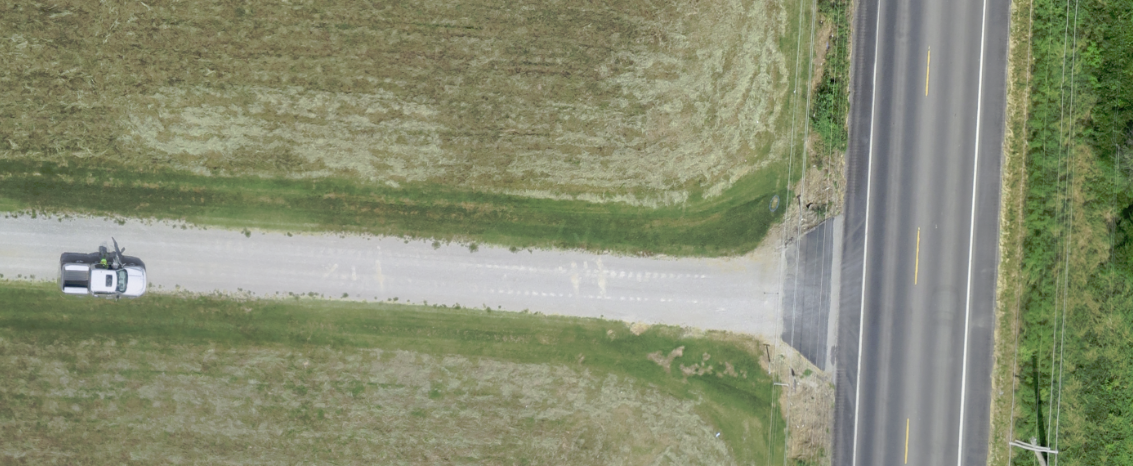
43. Your Pointcloud is imported.
If all procedures have been followed correctly any data collected using GPS and the pointcloud will align with each other.
Importing the Orthomosaic
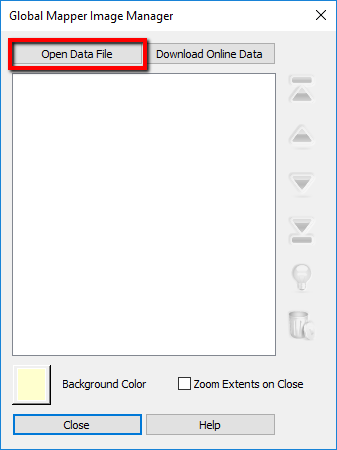
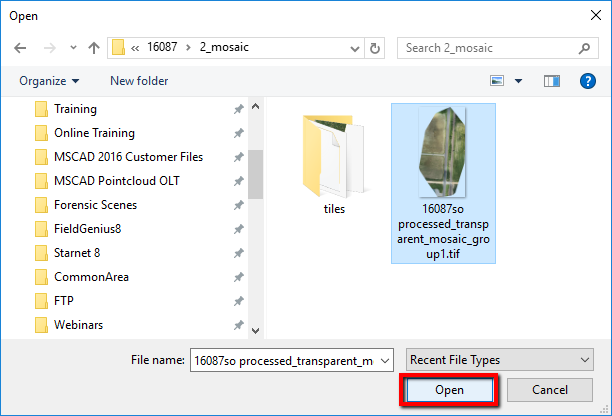
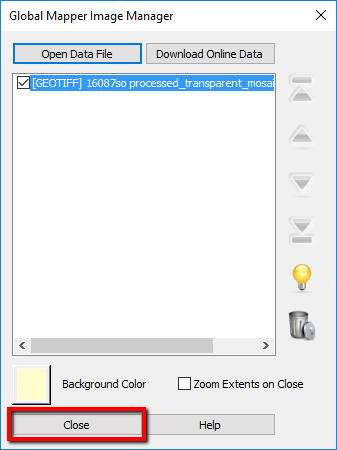
44. Import the Orthomosaic file found in the dsm_ortho folder:
Look in: (Pix4D project location)\raw_files\3_dsm_ortho
Jose Ramirez
Comments