In this article, step by step instructions will be given on how to change a coordinate system to a new one after several points have already been stored using GPS.
This can be due to someone storing points using GPS, but when they got back to the office they discovered they had stored the points using the wrong coordinate system.
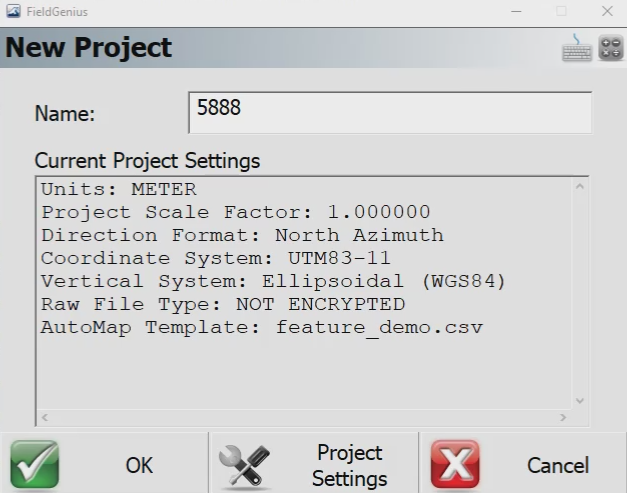
Step 1: Launch FieldGenius and open the original project you wish to change the coordinate system. (In this example, Project 1234 was the original and Project 5888 was the new one created.)
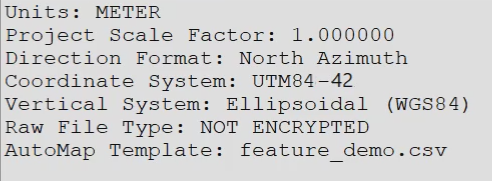
Make sure you take note of the original projects Unit and Scale, Coordinate System, Automap and Feature List settings. Notes about when you need to use them are added in the relevant steps.
Step 2: Click on the Plumb Bob > Project Manager > New Project > Project Settings.
(Take note of the project name which you wish to edit the coordinate system.)
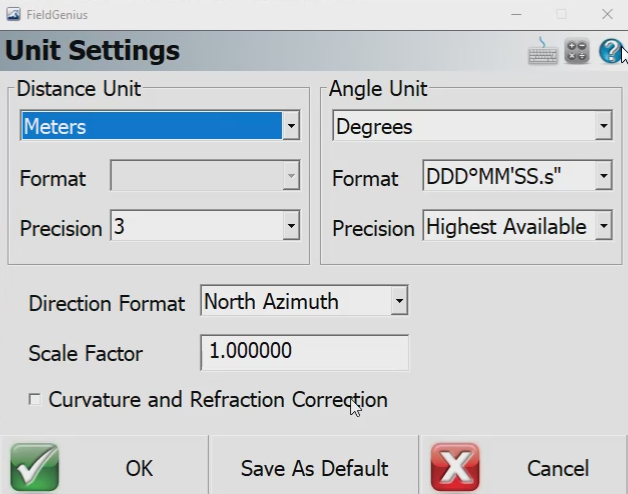
Step 3: From the Project Settings, click Units and Scale to make sure your Unit Settings are the same as the original project.
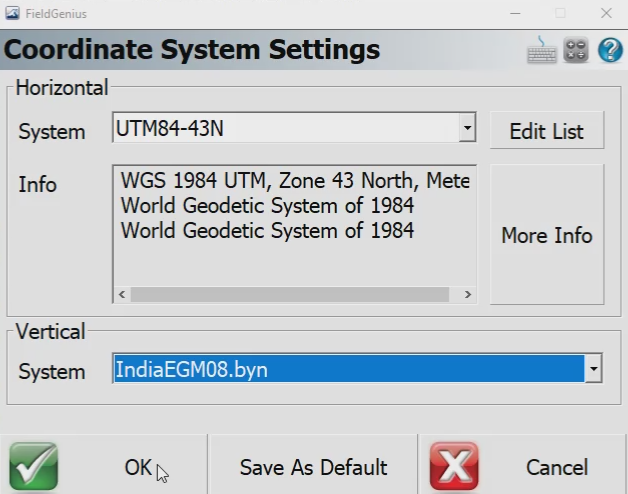
Step 4: From the Project Settings, click Coordinate System and select the correct Horizontal and Vertical System you wish to be using and click OK.
(In this example it was UTM84-42N and Ellipsoidal (WGS84). We are changing it to UTM84-43N and IndiaEGM08.byn.)
Step 5: From the Project Settings, click Project Files and make sure Automap and Feature File are the same as the original project.
Afterwards, check on Copy Existing. A menu will pop up, select the .raw file from the original project and open it.
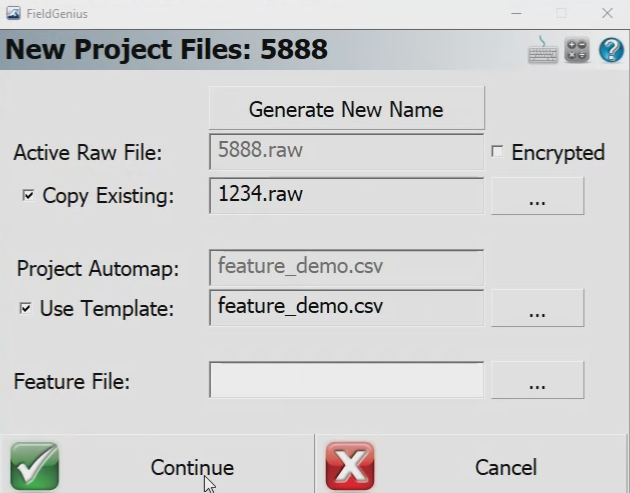
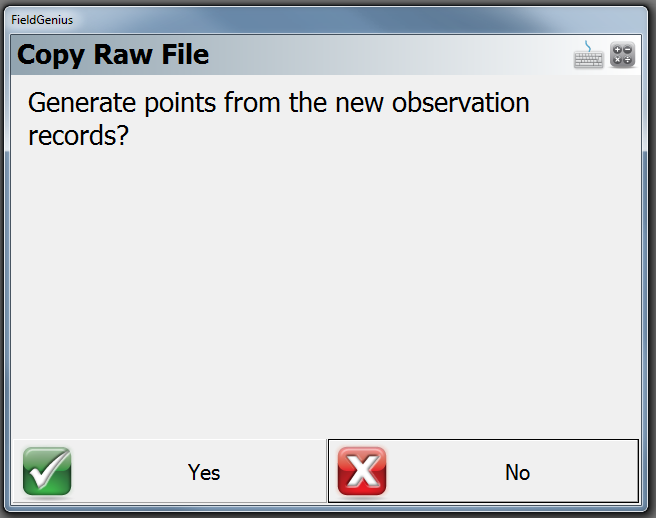
Step 6: After selecting Continue, click Yes and Yes to the next two menus about generating points from the new observation and finish up creating this new project.
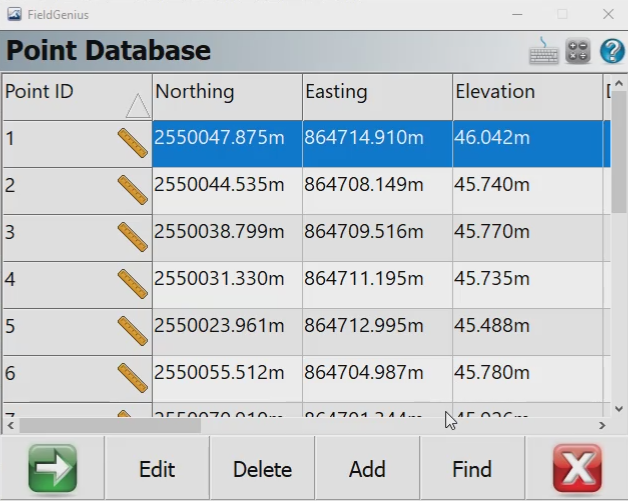
Step 7: Click on the Point Database and notice that you still imported UTM84-42N coordinates.
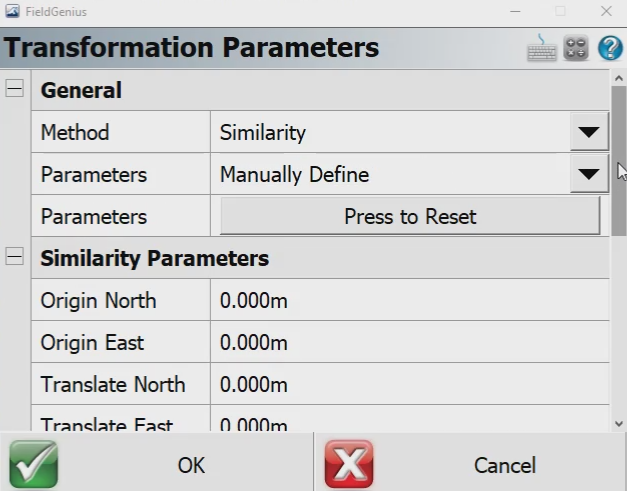
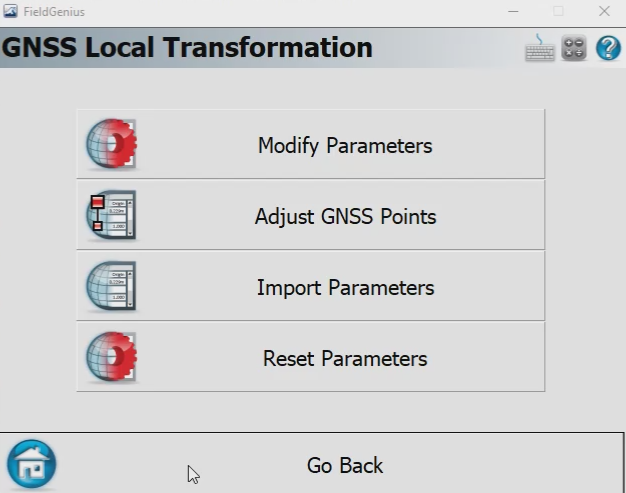
Step 8: Click on the Plumb Bob > Survey Tools > GNSS Local Transformation > Modify Parameters. From here, change the Method to Similarity and then the Parameters to Manually Define. Leave the rest of the parameters at their default settings and click OK.
Step 9: After pressing OK, an “Adjust GNSS Points” option will appear on the GNSS Local Transformation menu. Click Adjust GNSS Points and then YES. This will update all currently stored points into the new Coordinate System.
Step 10: Now you can go back to the Point Database and confirm that your coordinates are not listed in the correct system.
Chris Clemente
Comments